
Photo by John Nail from Pexels
This is part of my series on learning to build an End-to-End Analytics Platform project.
TLDR; I set up a GitHub milestone with two issues. Started working with the Bicep language to build Azure resources. It’s basically a language that simplifies building Azure Resource Manager (ARM) templates. I installed the Bicep tooling. Defined resources using things like parameters, modules, and others using an ARM template guide. Used Bicep build to generate an ARM template from the Bicep file. Experimented with Bicep decompile to generating a Bicep file from an ARM template. Created my first gist to share some code. Lastly, used the Azure CLI to deploy the Bicep resource. Also… found a Bicep playground 🤸♂️ Just saying..
Prepping for Dev 👨💻
We are using the development flow from my previous post. Not enough time? Check out the GitHub Flow.
We need a starting point to build out our end-to-end analytics platform. We are going to attempt to deploy a Azure Synapse Analytics and required services with Bicep templates. This gives us two key capabilities:
- Data Lake Storage to store our data
- Pipelines to support orchestration and batch ingestion of data
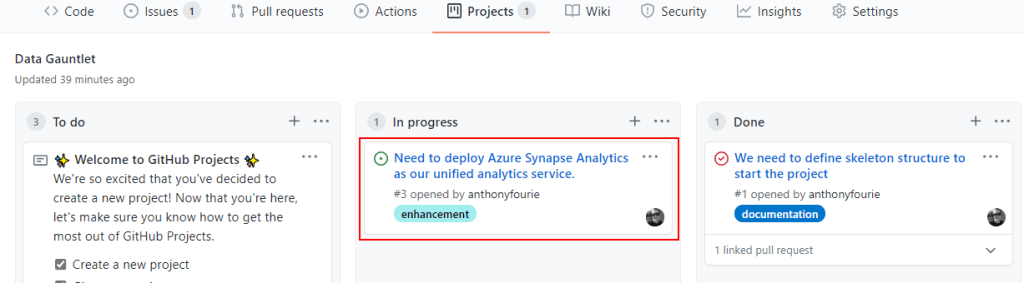
Let’s get started. We created a new issue, updated the project board, set up our new branch in GitHub. Pulled the updates locally. Then checkout to that new branch.
In this post though I wanted to learn about GitHub Milestones. They make it easy track a bunch of related issues. They also have convenient progress tracking built in. So I added another issue. Then made my way to the milestone page from the issues tab:

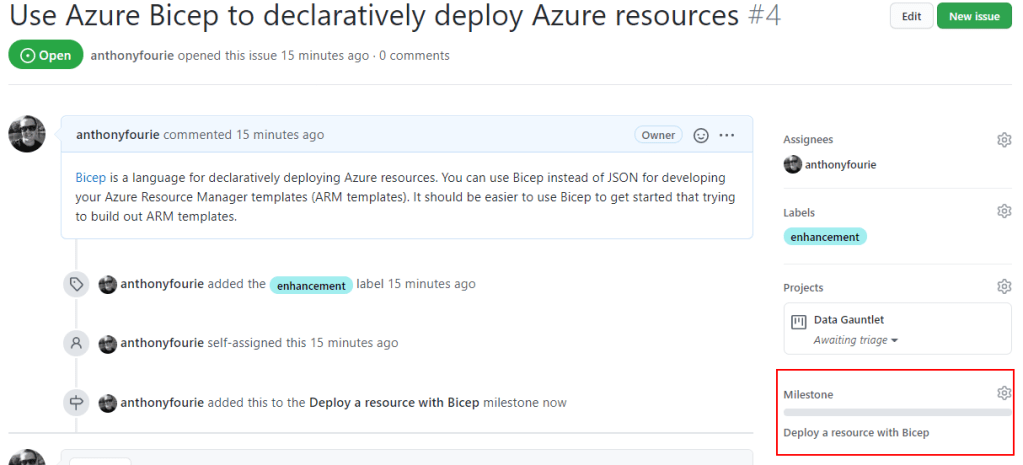
Used the ‘New milestone’ button to create a new milestone. Gave it an name and filled in the details.

After that jump back to the issue and assign it to the milestone we just created. Notice that the milestone has a progress bar.
Nice. Issues, milestones, branches, in the flow. Time to get to building things.
Building Biceps 💪
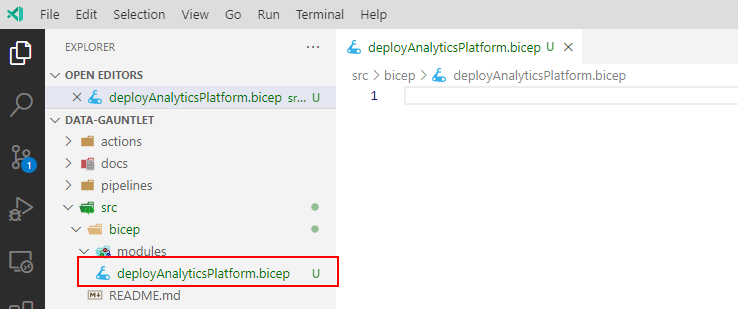
To work with Bicep files we need to install the Bicep tools (Azure CLI + Bicep install, VS Code Bicep Extension) . Once that’s done, we add our first .bicep file 🦾 to the project. Remember to check which branch you are on locally.
Stepping back, according to the documentation, Bicep is a domain-specific language (DSL) that uses declarative syntax to deploy Azure resources. We not covering every area of Bicep here. The documentation does a good job of that. There are a few things that we am going to use in this post:
- Parameters – to support re-usability
- Resources/Child resources – to deploy things
- Conditional deployment – to control what gets deployed
- Modules – to group related code for reuse
- Outputs – to reuse deployed resource output variables at some point
There are a bunch of other capabilities that you can explore from loops, functions, and more. So much goodness, so little time… someday maybe.
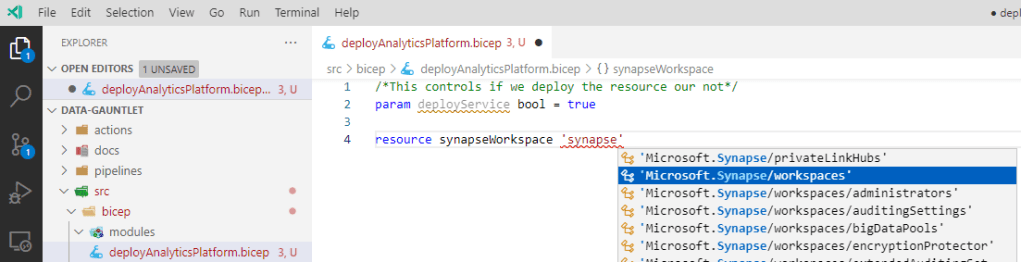
Now to start building out our resources. Let’s start with some parameters:
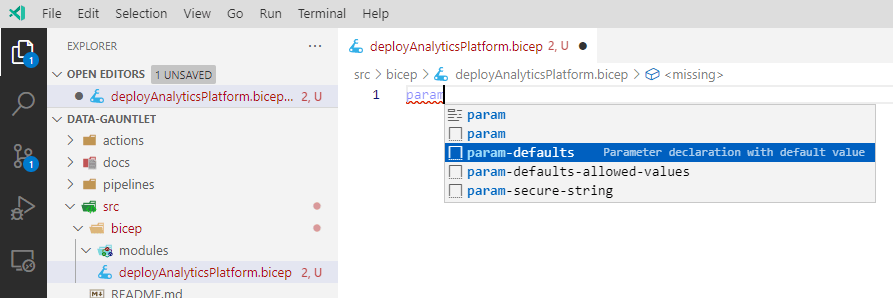
Yes please! Intellisense for the win! I also added a comment which is being kind to my future self. Now let’s add a resource. The intellisense really helps a bunch to expedite development. We can get to the resource, the API version, and more using the Tab key. Another nice thing is using Ctrl+Space to expand more options, properties, and more:
We have some basic building blocks for figuring out how to create a resource. Next I expanded the declaration with more resources, parameters, comments, and properties using the template documentation and Azure-Samples.
Note: You could try create a Synapse Analytics Workspace using the portal and grab the template just before you create it as well.
Notice that you can reference the parameters in the resource declaration which helps with code reuse. I added a deployment condition to control what services get deployed. The code is in an intermediate state to showcase that I can use strings or parameters to assign values. I’ll gist show you what I did 😉:
It’s a basic Synapse deployment. The goal is to start deploying using Bicep. We can add things like RBAC assignment for storage access, network configurations on the storage firewalls, and others.
To ship it 🚢 we can use the Azure CLI in the VS Code integrated terminal. The deployment is pretty simple. Login into your Azure subscription with the Azure CLI. Set your subscription context.
az login
az account list
az account set --subscription 'your-subscription-name-or-id'
Create a resource group in which we want to deploy the resources defined in the .bicep file. Bicep can do this which we will get to another day.
az group create --resource-group 'your-resource-group' -location 'azure-region'
Deploy the resources at a resource group level specifying the Bicep file path as our template file. Once you submit the terminal will indicate that the deployment is running. We should see a JSON summary output when it’s done similar to our resource group deployment.
az deployment group create --resource-group 'your-resource-group' --template-file 'path-to-your-bicep-file'
Checking the deployment in the Azure Portal is simple. Navigate to the resource group. On the ‘Overview’ page, there is a ‘Deployments’
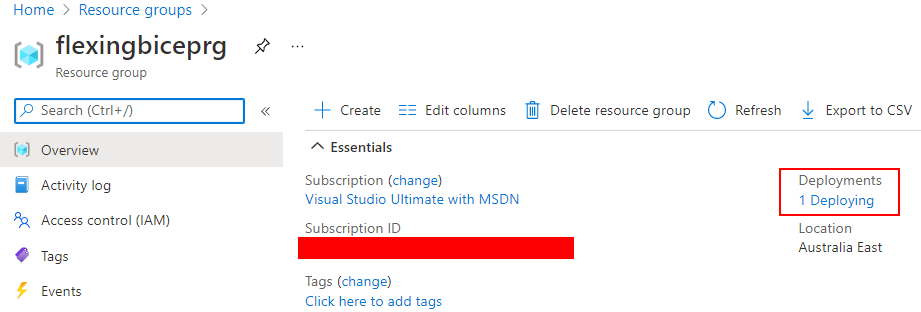
If you keep following the trail, you end up at the deployment detail screen:

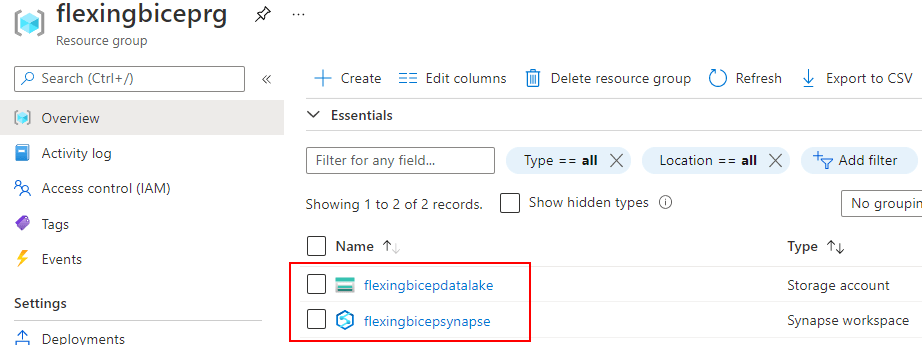
We can validate the resources are deployed in the Azure Portal:
Let’s close off one of our issues and see what it does to the milestone:
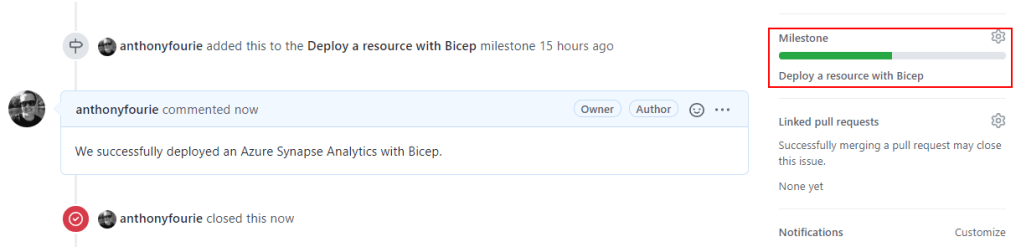
Awesome! To clean up, just delete the resource group 👍
az group delete --resource-group 'your-resource-group'Interesting finds
Bicep has nice capabilities for users coming from an ARM background is that you can use the Bicep build to have it build the ARM template 😉.
az bicep build --file 'path-to-your-bicep-file'
If you have ARM templates, you can try out the Bicep decompile functionality to TRY (it’s not perfect, so no guarantees) convert your ARM templates to Bicep files.
az bicep decompile --file 'path-to-your-bicep-file'Wow! Another lengthy post. Thanks for sticking around. We covered some serious ground. We learnt a bunch and kept building a foundation for our future work. Future posts we can tackle things like modules, advanced resource deployments, and deploying using GitHub actions which should be fun.
🐜
