This is part of my series on learning to build an End-to-End Analytics Platform project.
TLDR; The goal is to work remotely on the Raspberry Pi. We added the VS Code Remote Development extension pack. Used the Remote – SSH extension which is part of the pack to connect to the Pi remotely over the network. Set up set up key based/passwordless SSH authentication. Then to remember the host we added an entry to our SSH config file through VS Code. Finally, got started with the Sense HAT and wrote some code to do stuff on the Pi!
Working remote 🧑🌾
We want to work remotely on the Pi (the artist formerly known as Raspberry Pi 🕺). Sticking with VS Code, there is an extension to help us do remote development:

This Remote Development extension pack includes three extensions:
- Remote – SSH – Work with source code in any location by opening folders on a remote machine/VM using SSH. Supports x86_64, ARMv7l (AArch32), and ARMv8l (AArch64) glibc-based Linux, Windows 10/Server (1803+), and macOS 10.14+ (Mojave) SSH hosts.
- Remote – Containers – Work with a separate toolchain or container based application by opening any folder mounted into or inside a container.
- Remote – WSL – Get a Linux-powered development experience from the comfort of Windows by opening any folder in the Windows Subsystem for Linux.
Now the one we are after for the time being is the Remote – SSH extension which allows me to connect to the Pi over SSH. It’s not as simple as that though. Look at the architectures supported. We need to make sure our Pi has one of those architectures. Looking at the extension documentation we can see it supports: ARMv7l (AArch32) Raspbian Stretch/9+ (32-bit).
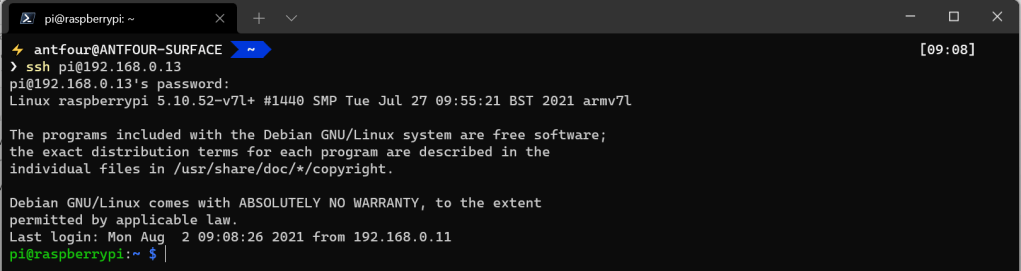
When we previously SSH into the Pi we get a glimpse of the architecture version:

To get the OS version we can use the cat command to find the release information:
cat /etc/os-release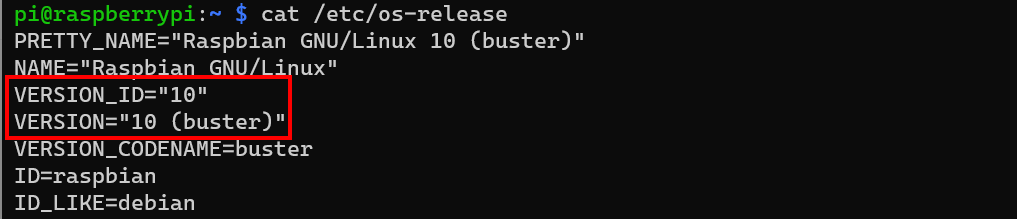
We have a supported configuration. Let’s try to connect remotely via SSH to our Pi with VS Code using our new extension pack. Open the Command Palette and type “remote-ssh”. Look for the “Connect to Host…” option:

Then select the platform for the host. In our case Linux. Raspbian, the Pi-specific OS, is a Linux distribution based on Debian. Fill in the login credentials to finish establishing a connection.
One thing I spotted was the prompt in the bottom right corner of VS Code which was connecting via SSH, nice, and “Installing VS Code Server”. Wait, what? Which looking at the architecture, seems related to the way VS Code Remote Development works. A bit more than I am going to dig into here:

Eureka! We are connected remotely to the Pi! Take a look at the VS Code status bar in the bottom left. Notice that it says “SSH:<ip of Pi>” and the Terminal window is a bash shell running connected to the Pi.

Now that we are connected remotely to the Pi. Let get’s started with the Sense HAT. First things first, software updates. I am learning about Linux as I go here. Standard users by default aren’t allowed install applications on a Linux machine. To update the software we need to escalate privileges. The “Run as Administrator” in Linux terms seems to be “sudo“. I’m team “super user do” just sounds epic. Then apt-get update/upgrade to invoke the package handling utility to update or install the newest version of packages on the system.
sudo apt-get update
sudo apt-get upgrade
I ran both commands (only one shown for brevity). They ran like a charm 🍀. The upgrade pulled all it needed, created a few diversions, seemed to unpack it’s bags, set itself up, and process what just happened. I don’t know about you, but our Pi seems to have gone through a big phase in it’s life 🤣. Our Software is updated. Now to install the sense HAT software:
sudo apt-get install sense-hat
Nice! Our sense HAT software is up to date. Let’s start writing some code. What is awesome though is that there is an online emulator (trinket.io) that you can use to code the sense HAT in your browser if you don’t have one! Next up, we figure out how to set up new directories for the code with mkdir:
mkdir repos
cd repos
mkdir sense-hat-noob
cd sense-hat-noob
Now once that’s done, VS Code can pick up the new folder and we can open it using the regular “Open Folder” option in the “File” menu:

Short detour here. You might keep getting prompted for the user password. That got annoying fast so I set up key based/passwordless SSH authentication. Then to remember the host we can add an entry to our SSH config file through VS Code.

Now to add a file and write some code. To do that we are using the touch command. The moment we do that, VS Code noticed it’s a Python file extension and popped-up to ask if we want to install the recommended Python extensions.
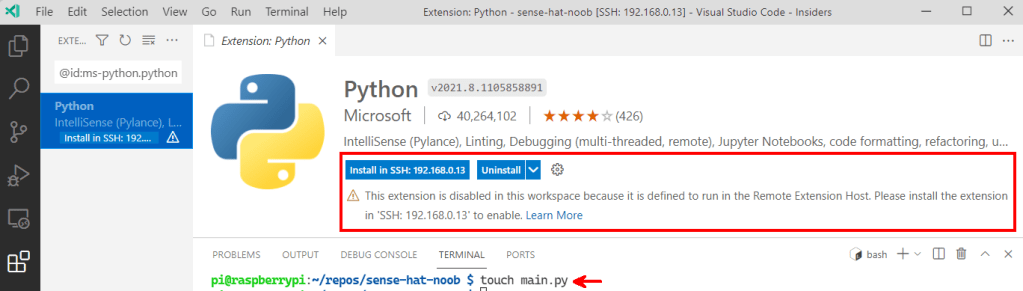
What is interesting is that it suggests the extension should be installed on the Pi 🤔 Again, this is related to the architecture for remote development. I tried not smiling about this, but apparently this extension has preferences…

Okay. We have reasonably secure remote connectivity, remote extensions, code file, no we need some code. Thanks to the new remote extension we have IntelliSense(Pylance) running:

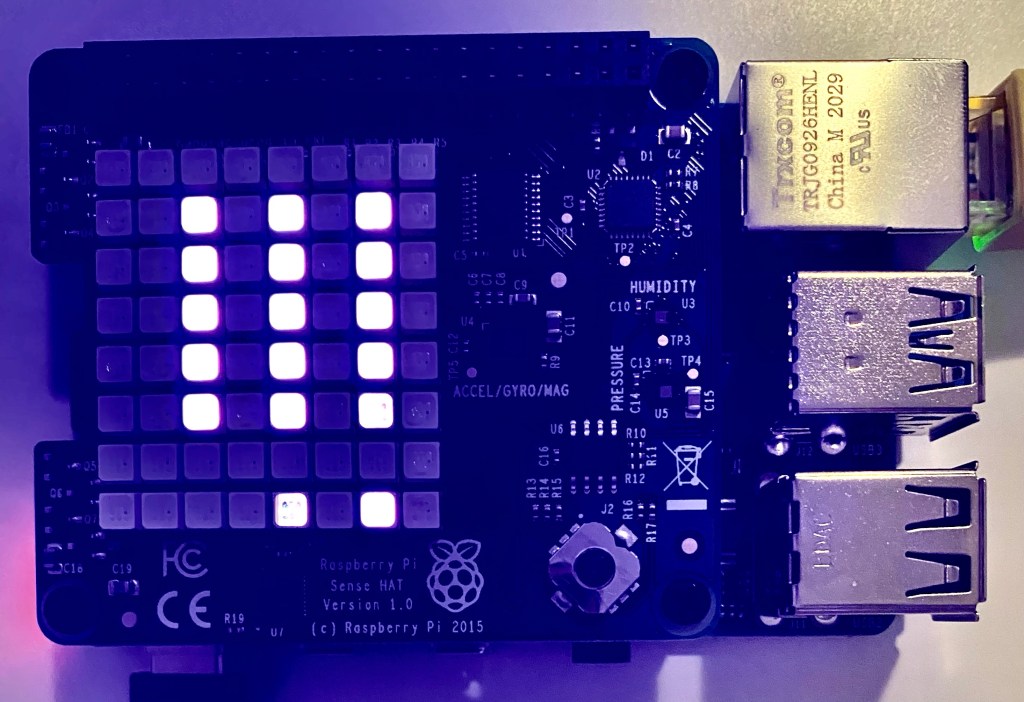
I wrote some code to display a message on the LED face. There are a bunch of parameters for the function, let’s keep it simple here:
from sense_hat import SenseHat
sense = SenseHat()
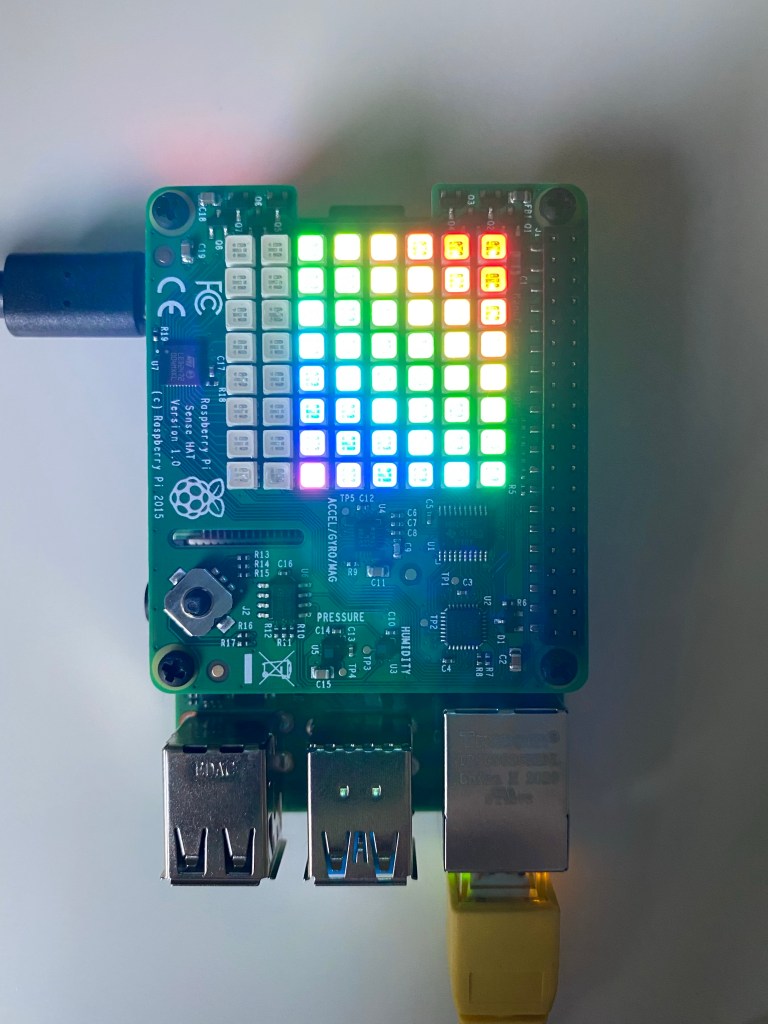
sense.show_message("Hello world")Viola! This sparks joy! The Pi displays it elation! I got a snap of the exclamation marks scrolling across the screen (pretty cool catching the one LED off as the characters move across the face).
That’s it for this one. Tons of new learning experiences. We are making progress! If you have any ideas or suggestions on things that can be done better. Let me know.
Until next time, take care.
🐜