This is part of my series on learning to build an End-to-End Analytics Platform project.
TLDR; We removed the sense had and assembled the Pimoroni pan-tilt hat with a NoIR Pi Camera. We tested the Pimoroni pan-tilt hat library and got the Pi movin’ and shakin’.
What are we trying to achieve though? 🤔
The plan is to be able to use computer vision to detect objects or events, send events based on detection, process the event, then send an event or command back down to the device to perform an action. We’ll start with local development then explore cloud in future posts. Yup, the end-to-end analytics platform project is growing in scope, that’s okay.
Lights, camera, action! 🎥
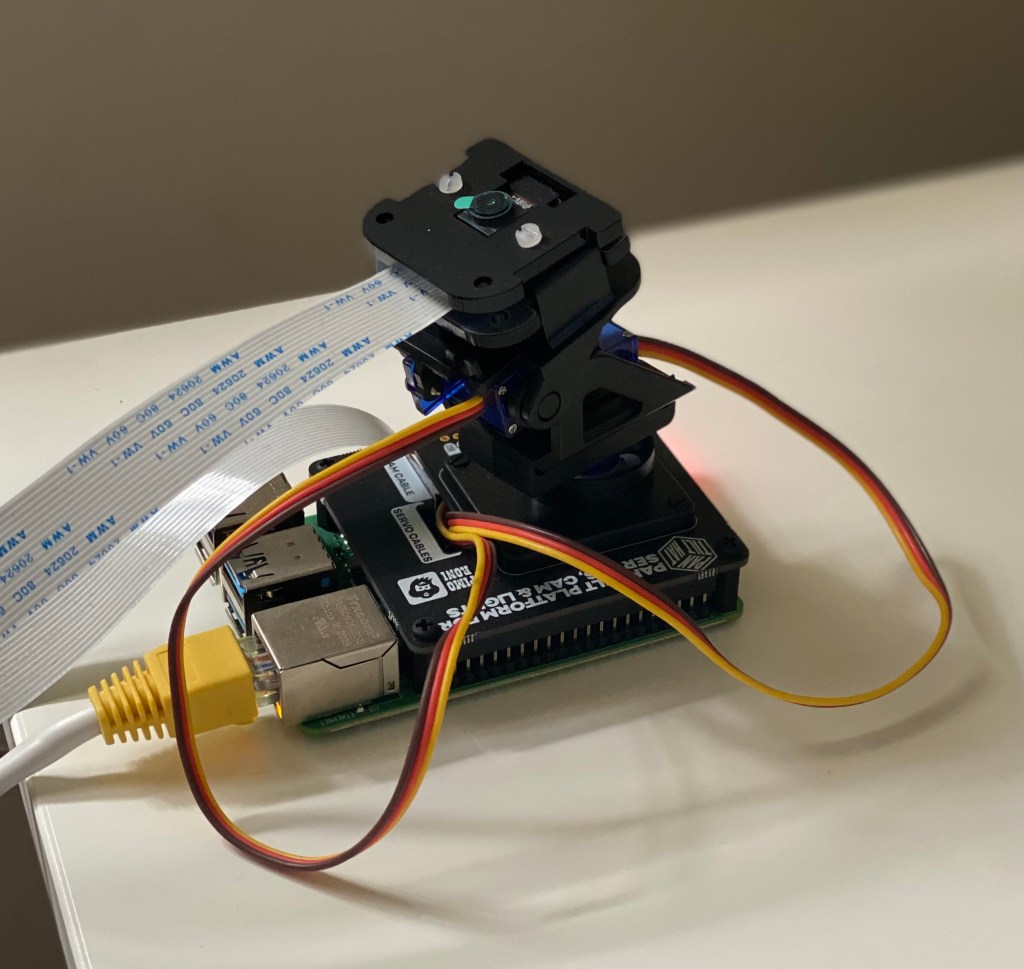
Now to detect, capture, and even track objects with a computer vision solution we need something that can ‘see’ and ‘move’. The Pimoroni has a pan-tilt hat to ‘move’ with servos to pan (x-axis) and tilt (y-axis) the mounted camera. We also have a NoIR Pi Camera to help ‘see’. NoIR means No Infrared. Why not the normal one? This one basically has night vision. Case closed.
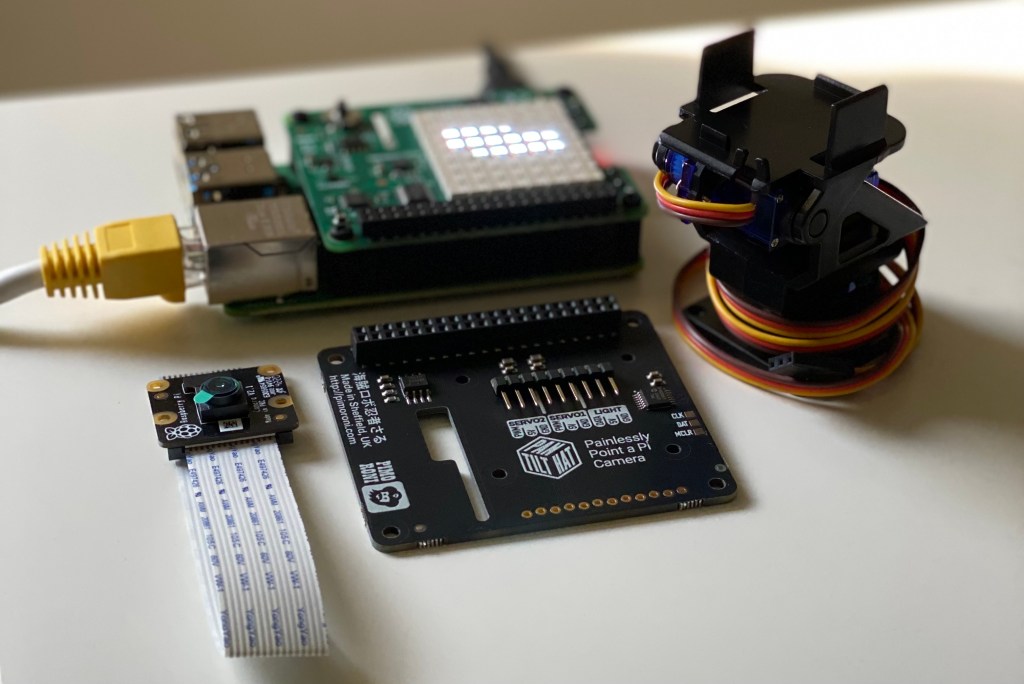
After removing the SenseHAT we used before, which we can see in the background. We can use the Pimoroni guide for assembly to get the new hat set up. One thing we don’t have is the Neopixel stick (light) which we don’t need.
Interesting point 💡
Pan-Tilt HAT is a two-channel servo driver designed to control a tiny servo-powered Pan/Tilt assembly. - Pimoroni pan-tilt hat Github repo
What's a servo? A servomotor (or servo motor) is a rotary actuator or linear actuator that allows for precise control of angular or linear position, velocity and acceleration.[1] It consists of a suitable motor coupled to a sensor for position feedback. It also requires a relatively sophisticated controller, often a dedicated module designed specifically for use with servomotors - Wikipedia
We’re focused on getting the pan-tilt working, not the camera. We’ll set up the camera when we do the object detection, image capture, etc. The kind maintainers of the Pimoroni pan-tilt hat Github repo have graciously bestowed upon us a curl command to install everything we need.
curl https://get.pimoroni.com/pantilthat | bash
Because we already enabled the I2C using the raspi-config tool, we can see the setup noticed that and printed out ‘I2C Already Enabled’.
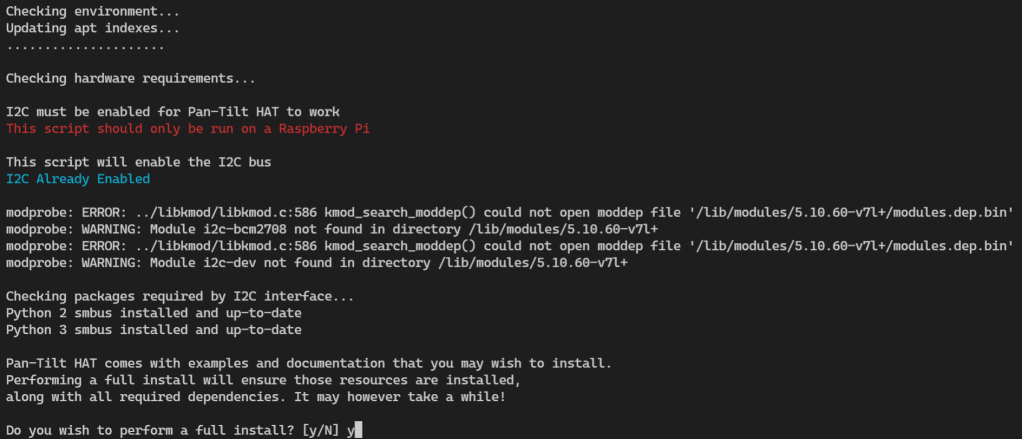
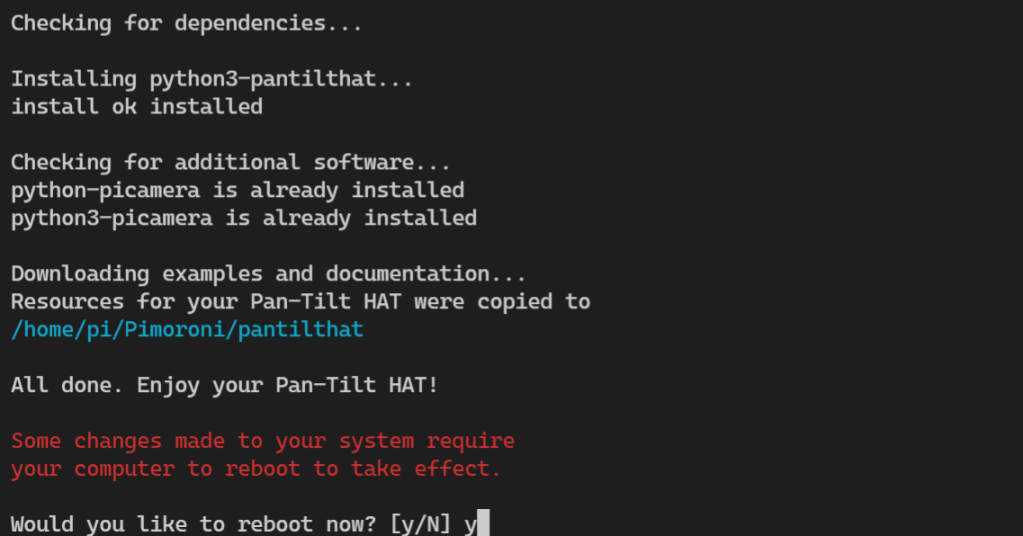
We’re going to opt for the full install so that we can grab the examples and docs for future. You know, just in case 😏.
Installation done, let’s turn the key 🗝️ and see if this beauty starts.
Start up python in the VSCode bash terminal. Import the pantilthat library. The documentation has a few methods we can try out. We’ll start simple using the pan() and tilt() methods passing in the angles within the allowed range.
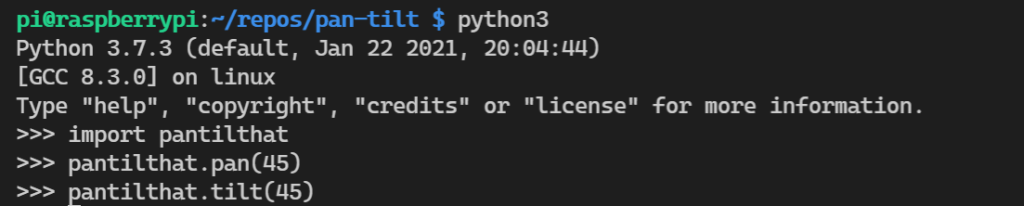
Great! It works. Playing around a little we can see the angle changing.
Queue music for interpretive machine dancing through numerous function calls… 🤣
All done! Before we close out, the documentation suggests it’s a good idea to turn of the servo drive signal to save power if we don’t it to actively point somewhere using the pantilthat.servo_enable(index, state) function. Reset the servos to their original position, and used the function to disabled the two servos. Now to shutdown the Pi and think about the next challenge. Getting the camera feed working, then on to object detection and tracking. I’d like to see if we can get the solution working with a Python venv though.
sudo haltFor fun 🎈
While perusing the documentation I noticed a note on displaying the Pi in the bash terminal which I thought was nifty. Give it a try…
pinout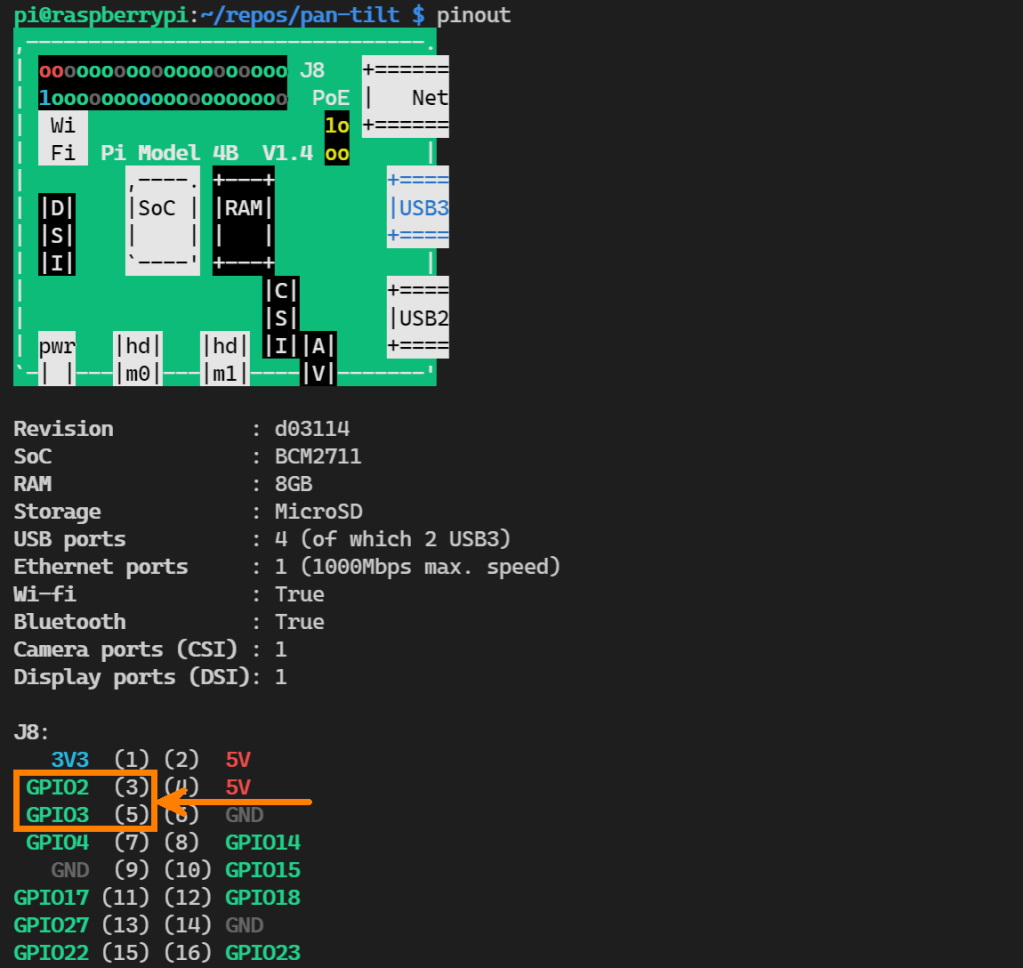
Summary
It’s been a quick post. Wrapping it up, we got our new pan-tilt hat installed, working, and dancing which brought a smile to my face. There’s heaps still to learn, I2C (I2C protocol), pinouts, and so much more. Most of which is new to me too.
Quick note 📝
A massive thank you to the many people who put their time and effort into projects, like the Pimoroni pan-tilt hat repo, which make things significantly easier for all of us.
We’ll work on the vision part in the next post. Camera’s, image capture, and even object detection. Once we have that done, we’re going to start working on connecting the device to the cloud.
Until next time.
🐜